
Setting up a league in Interleague takes a few minutes. After you join, a short wizard walks you through your first season, one step at a time, and you can stop and pick up where you left off. This guide covers each step, so you know what to have ready.
Before you start
It helps to have these to hand:
- The name of your first season, such as Winter 2026/27
- Your teams, with each captain's name and email address, and the venue each team plays at
- The night you play, when the season starts and any weeks off
Don't have everything yet? You can still start: teams, players and dates can all be changed after setup.
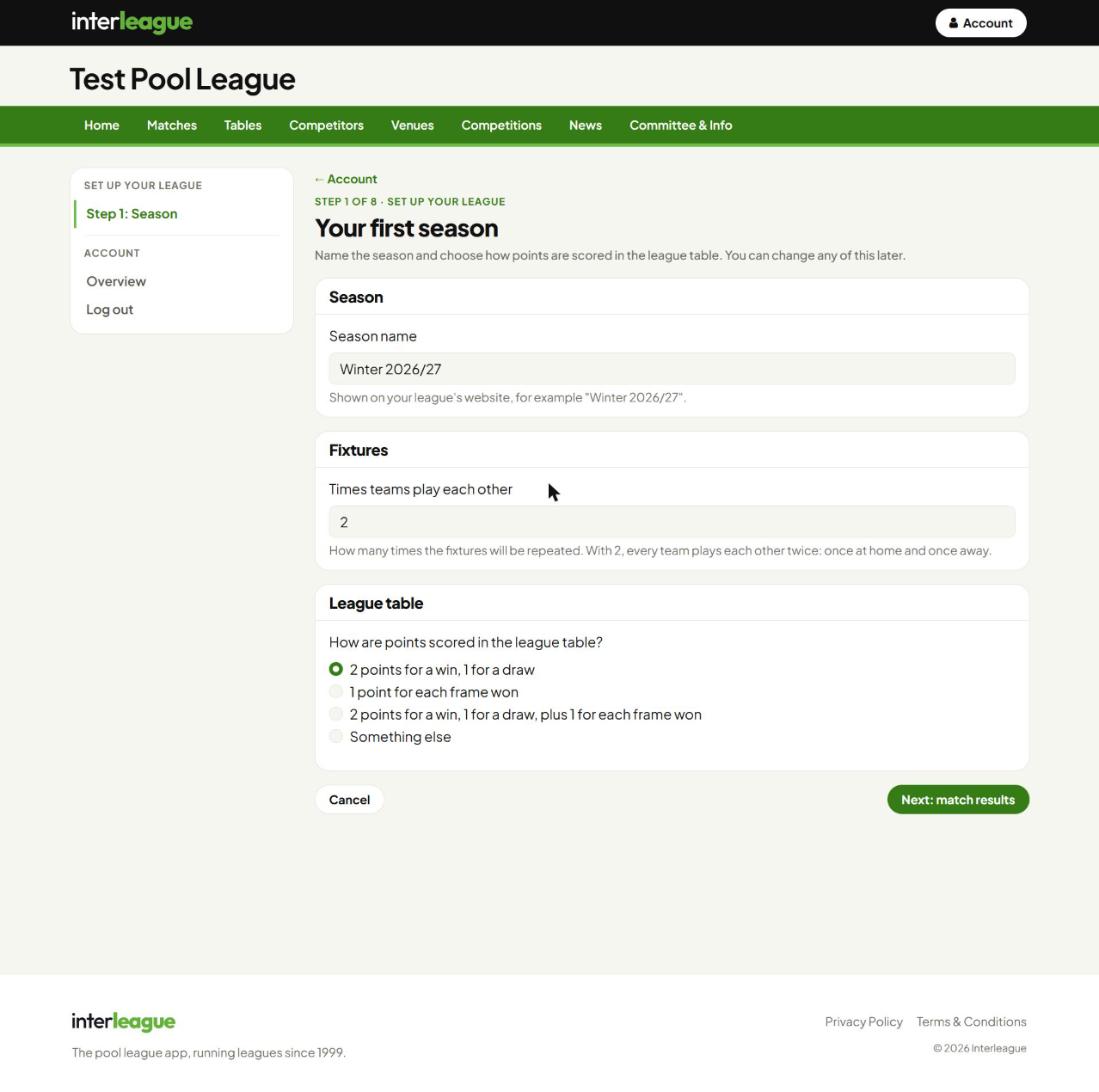
1. Season
Name your season and choose how points are scored. A new league starts with sensible defaults, two points for a win and one for a draw, and you can pick from a few common scoring presets or choose "Something else" to set your own.
2. Match results
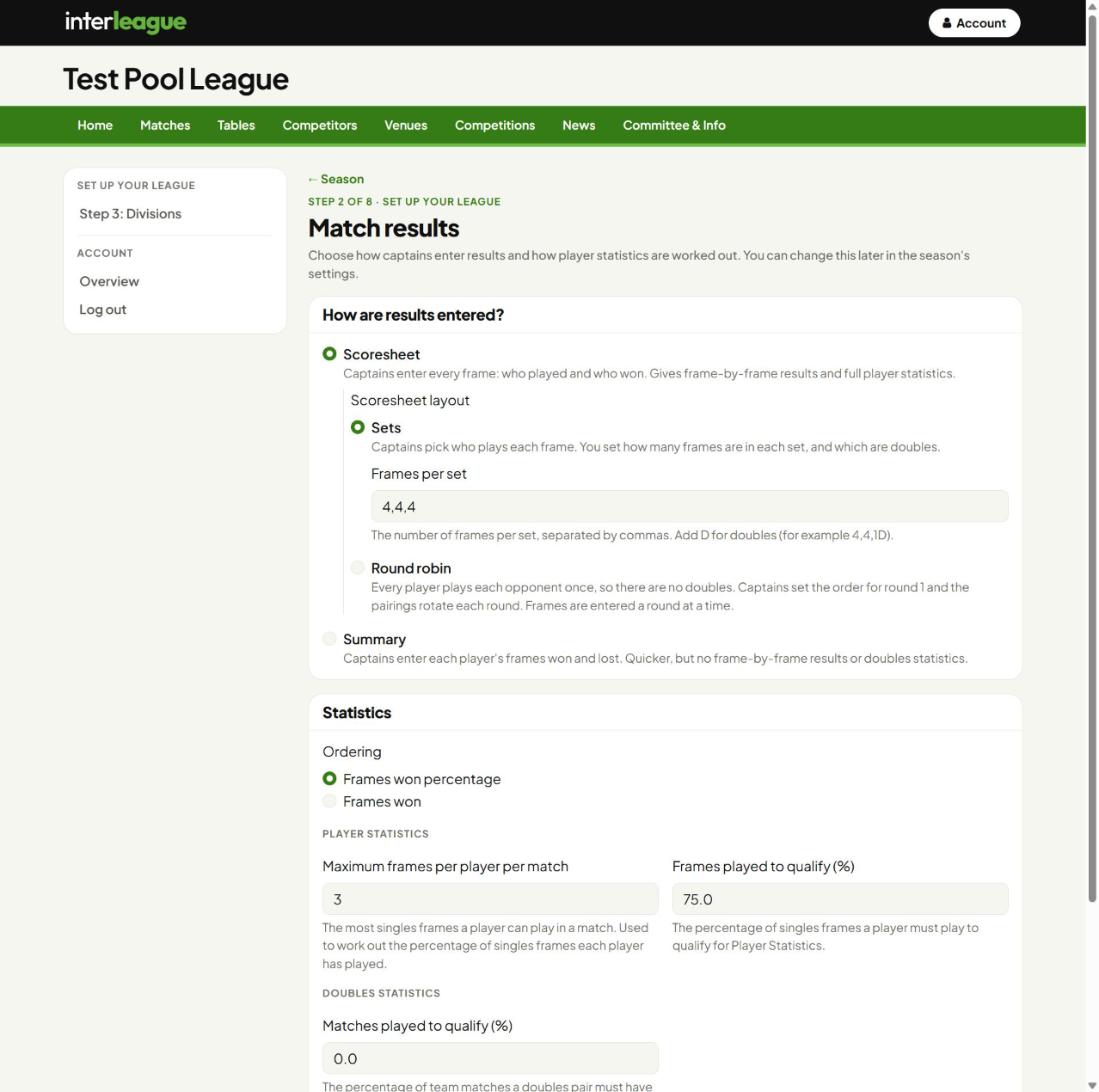
This step is for team leagues. Choose how results are entered:
- Scoresheet: captains enter every frame, who played and who won. You get frame-by-frame results and full player statistics. You choose how many frames are in each set and which are doubles, or pick a round robin, where every player plays each opponent once.
- Summary: captains enter each player's frames won and lost. It's quicker, but there are no frame-by-frame results or doubles statistics.
Once results have been entered you can't change this, so choose the one that matches how your league plays.
3. Divisions
Add a name for each division. Quick-add buttons such as Premier Division and Division One add one in a click. A single-division league just needs one.
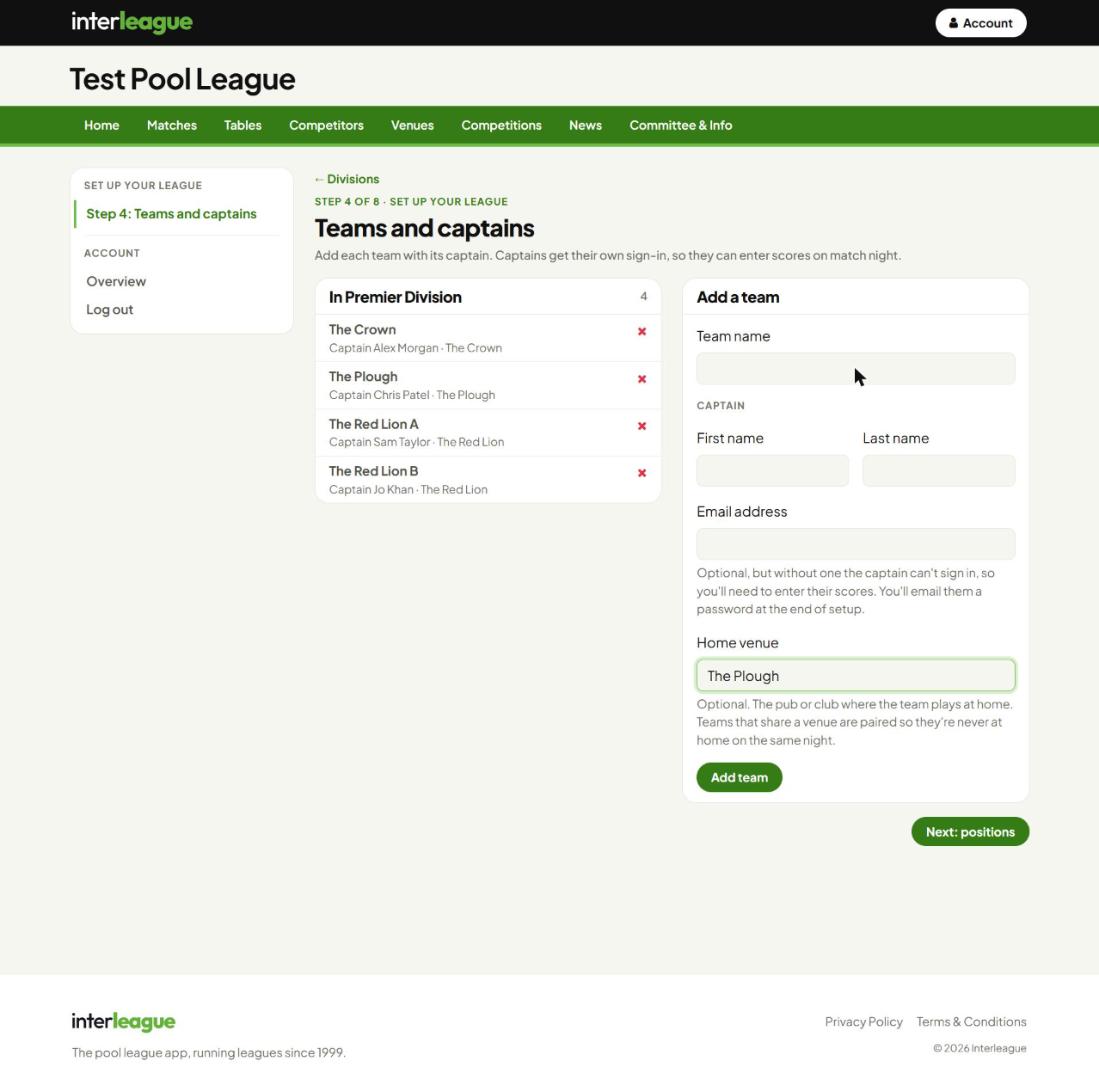
4. Teams and captains
Add each team with its captain's name and email address and its home venue. The team, its captain and its venue are all created together, so you only type each one once. The email address and venue are optional, but a captain without an email address can't sign in, so you'd have to enter their scores. Teams that share a venue are recognised by the venue's name, so type it the same way each time. Each division needs at least two teams.
If your league is for individual players rather than teams, you add players here instead.
5. Positions
Positions decide where each team sits in the fixture list. They're filled in for you, pairing teams that share a venue so they aren't at home on the same night, and you can change them if you want to.
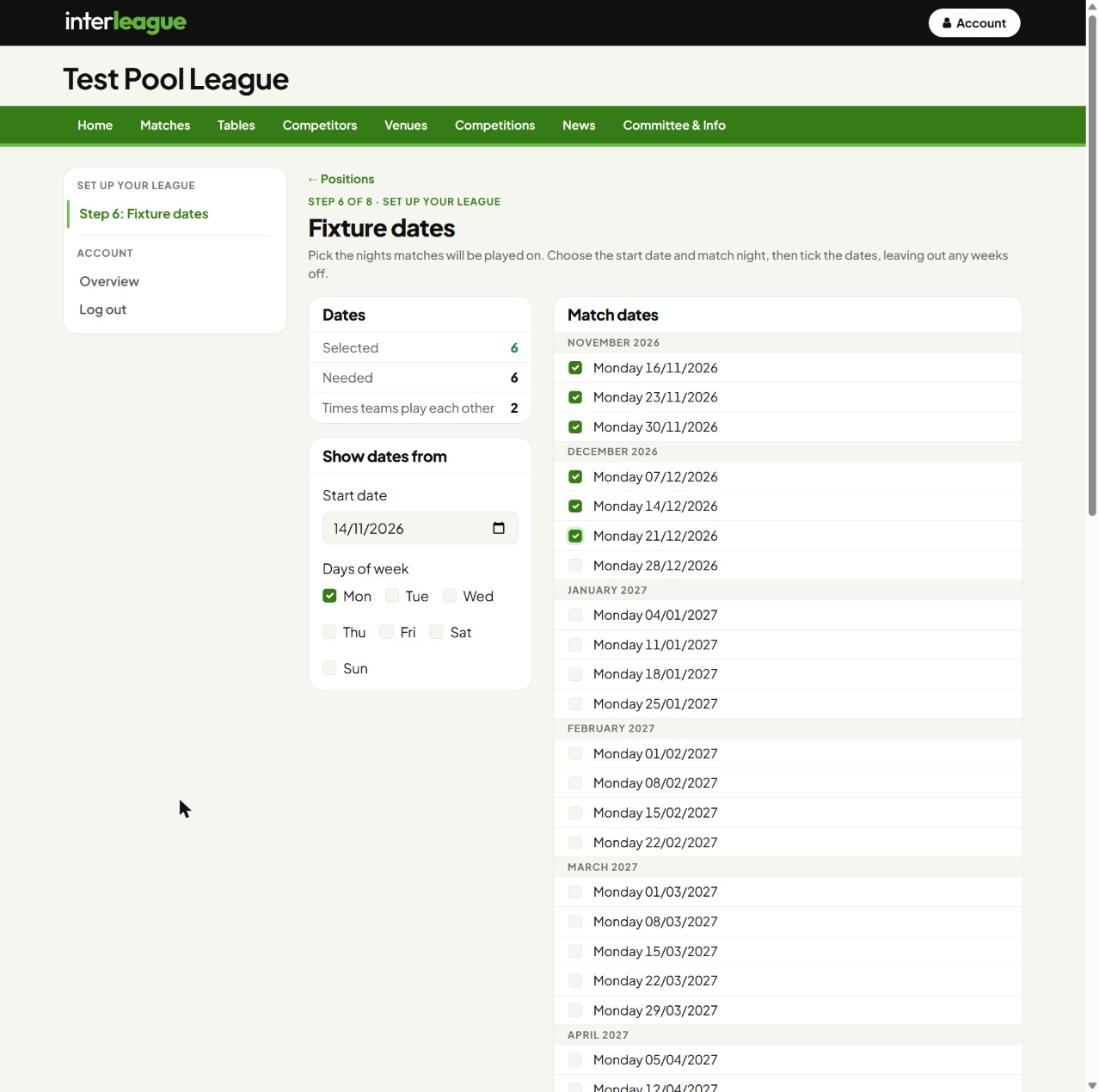
6. Fixture dates
Choose the start date and your match night, then tick the dates you'll play on, leaving out any weeks off such as bank holidays and Christmas. The page counts how many dates you've picked against how many your fixtures need.
7. Generate fixtures
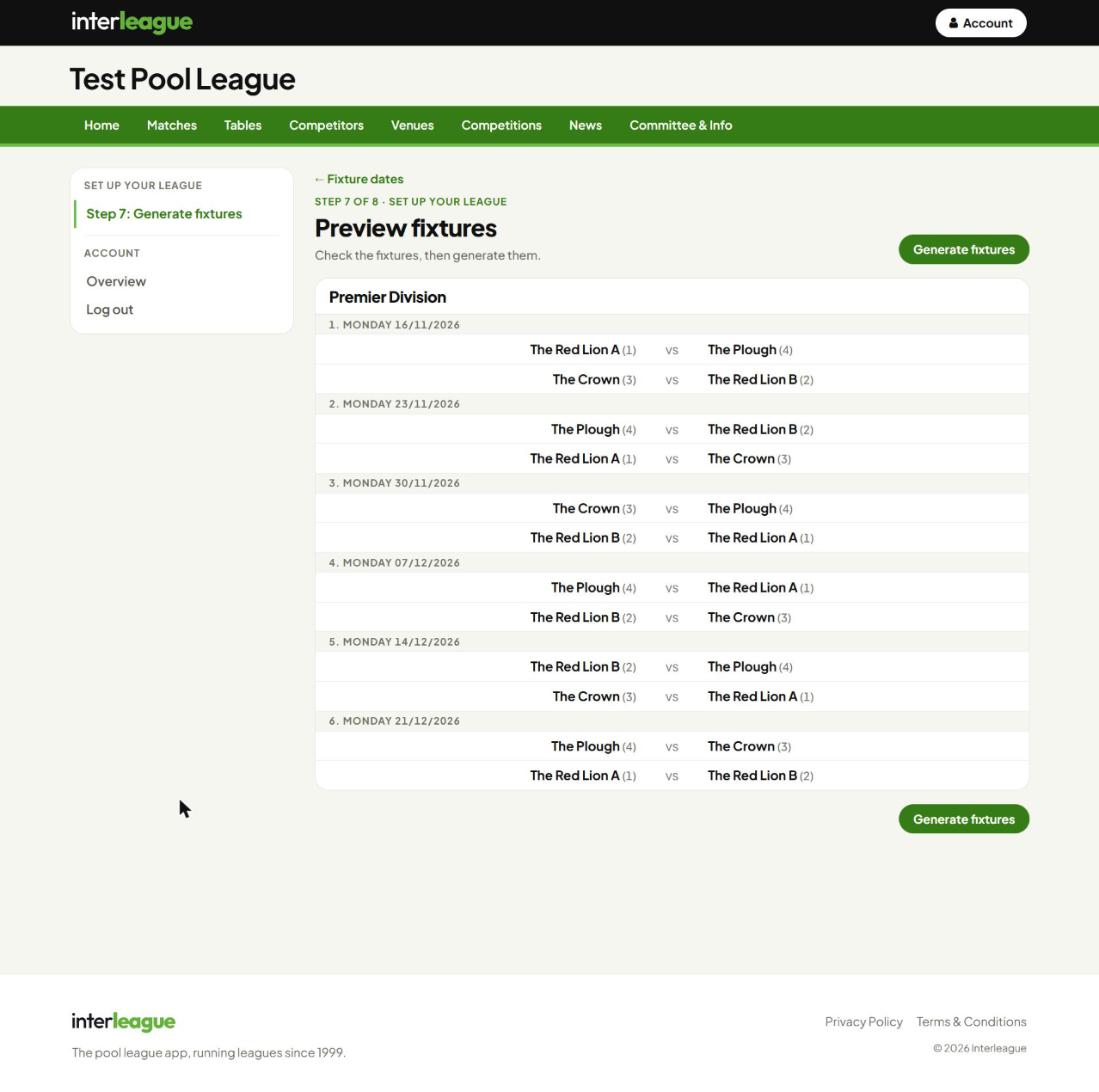
Interleague builds the full round robin for each division and shows you a preview. Look it over, then choose Generate fixtures to save it. Your first season is now your league's current season, and its table, fixtures and results pages are live on your league's own website.
8. Invite your captains
The last step emails each captain and vice-captain a password so they can log in. They can then enter results from their phone on match night. For a league of individual players, this step is where you choose which players are administrators, as they enter the results.
After setup
Your league is ready to run. From the admin area you can swap fixtures, change dates, add cups and edit anything you entered during setup. If you close the wizard early, your account home page shows a "Set up your league" card that takes you back to the step you reached.
Not sure what a finished league looks like? Look around the demo league. When you're ready, start your league: it's free for your first season, with no credit card needed. See pricing for what comes after.